ESP8266 NodeMCU - Getting started (Hello World)
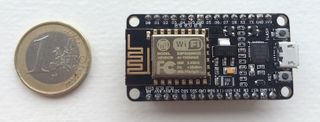

Thanks to a bit of donated funds I was finally ready to play around with the ESP8266 1, a tiny and inexpensive wifi system on a chip (SoC), which you can use to read data from sensors, connect to the internet or even act as a webserver!
This post describes how to get the parts and getting everything up and running using OS X. I will use an ESP8266 running open source firmware called NodeMCU. This allows easy programming of the device using Lua scripts. Since the tools used in this post are cross-platform compatible, you should be able to use this guide even when running Windows or Linux.
Disclaimer
This post contains links to Amazon where I get a small commission if you purchase anything after clicking on these links - at no extra cost to you! But only if you have explicitly consented to this. I have purchased all the mentioned products myself and I only link to products that I believe are the best for my readers. If you want to help out even more, take a look here.Parts
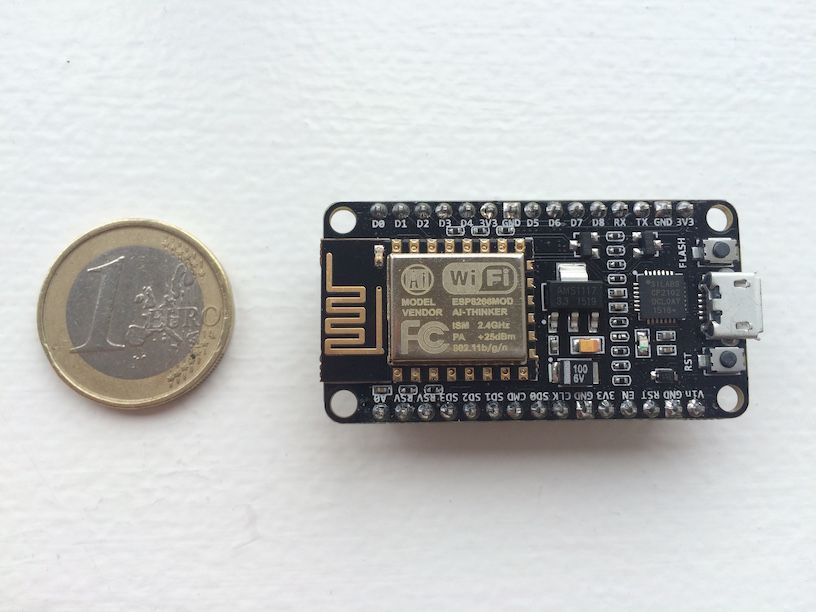
There are many ways to getting started, but using a development kit is the easiest in my opinion. I bought the Seeedstudio NodeMCU v2 - Lua based ESP8266 development kit, but I quickly found out that you can get them at a bargain at AliExpress. For around 3.5 USD you can get started and as long as you only buy one at a time the shipping is free (but very slow shipping)! I use these boards from AliExpress now. Make sure you get the NodeMCU development kit v1.0 (a.k.a V2).
Connecting the ESP8266
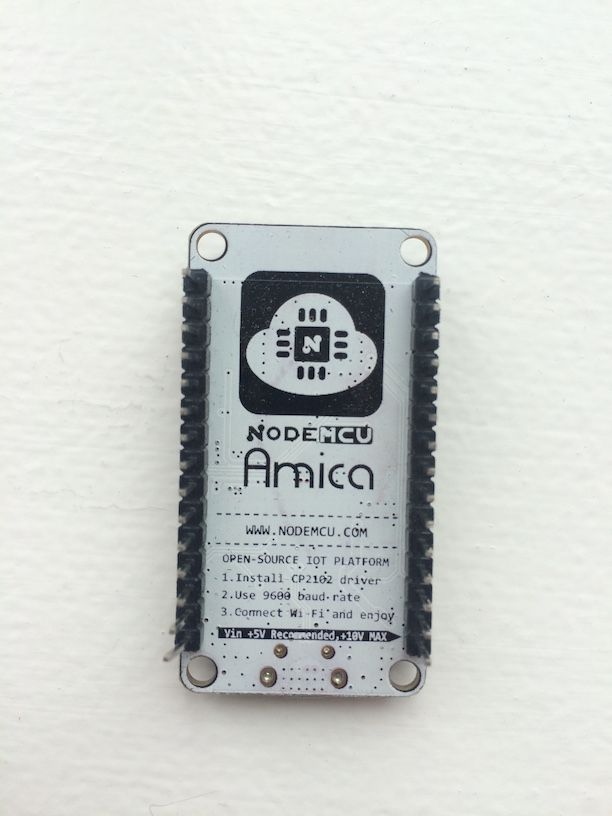
- Install the CP2102 driver from here. If using a different ESP8266 development board you might need different drivers. If you are lucky like me, the instructions will be printed on the back of the board
- Plugin the USB cable to the ESP8266 and then to the computer
- Open a terminal and type
ls -l /dev/tty.*. If everything went well you should see an entry similar to/dev/tty.SLAB_USBtoUART. Make sure you are using a USB data cable. I was using a purely USB charging cable which prevented the device showing up. Switching to another cable worked - Download ESPlorer from here
- In Finder, click the ESPlorer.jar to run the program (requires Java). If you get the message: ““ESPlorer.jar” can’t be opened because it is from an unidentified developer” then go to
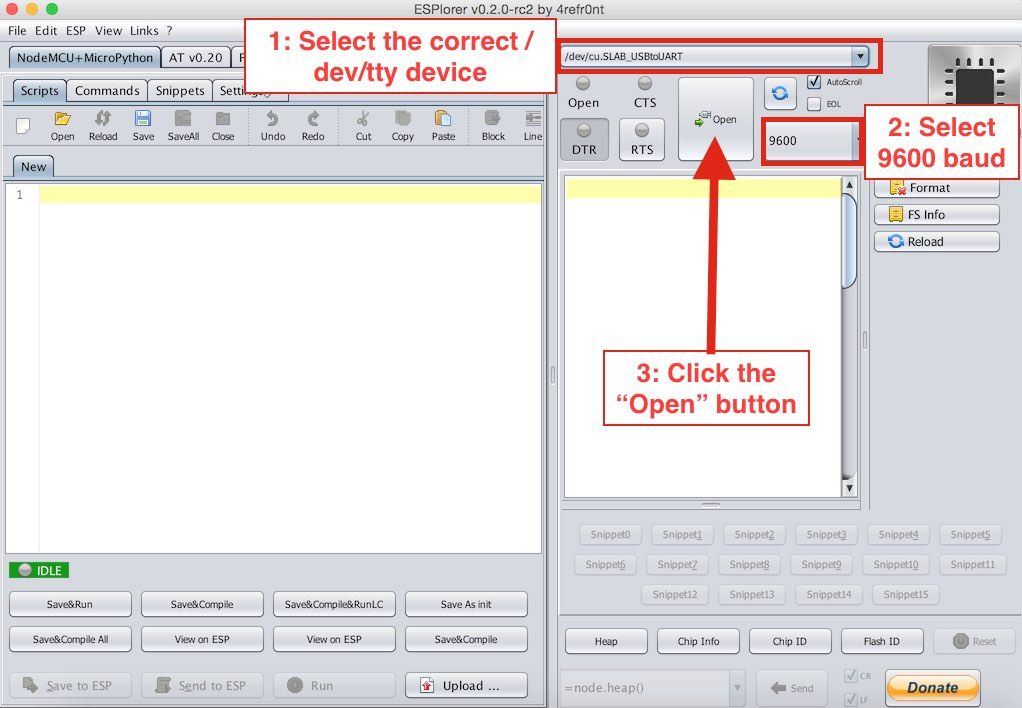
System Preferences --> Security & Privacyand click “Open anyway” - Select the
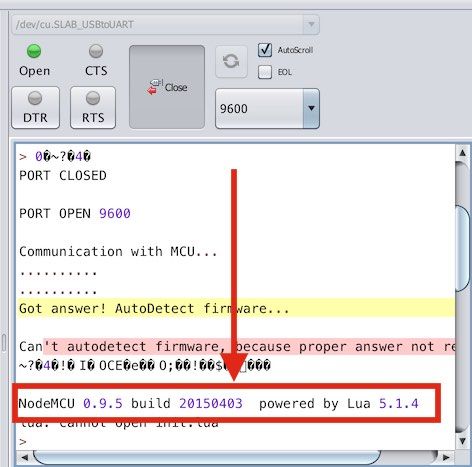
/dev/cu.SLAB_USBtoUARTand set the bad rate to 9600. Then click the “Open” button
- Push the RST button on the ESP8266, it is right next to the micro-usb port
- You should now see a message similar to
NodeMCU 0.9.5 build 20150403 powered by Lua 5.1.4
Thats it! We are now ready for programming the device
Programming the ESP8266
The ESP8266 with the NodeMCU firmware executes Lua files. When booting the device it will look for a file called init.lua and execute this file. But first we will clear the device of every file
- In ESPlorer, click the format button to delete all files
- Next copy / paste the following code into the left hand box in ESPlorer (taken from http://esp8266.co.uk/recipes/blink-demo/, but the site is currently offline)
1
2
3
4
5
6
7
8
9
10
11
12
13
14
15
16
17
18
19
20
21
22
23
24
-- Config
local pin = 4            --> GPIO2
local value = gpio.LOW
local duration = 1000    --> 1 second


-- Function toggles LED state
function toggleLED ()
    if value == gpio.LOW then
        value = gpio.HIGH
    else
        value = gpio.LOW
    end

    gpio.write(pin, value)
end


-- Initialise the pin
gpio.mode(pin, gpio.OUTPUT)
gpio.write(pin, value)

-- Create an interval
tmr.alarm(0, duration, 1, toggleLED)
- Save the file as
init.lua. This will automatically upload the file to the ESP8266

- Now the blue onboard LED should blink on and off every second. If you restart the device, it will load the
init.luafile and keep on blinking
Conclusion
I have yet to explore the possibility of this little nifty device, but it looks promising. Using the development kit is much easier, but more expensive. The ESP8266 chips alone are less than half the price of the development kit, but worth it for me. Check out my post on how to update to the newest NodeMCU here. Stay tuned for more posts!
Enjoyed this content?
Help keep it free by sending a donation. You can also subscribe to various site feeds to get notified of new posts, follow me on social media, and more.