ESP8266 NodeMCU - DHT22 humidity sensor with MQTT and deep sleep

After a lot of trial and error I have finally figured out how to connect a DHT22 sensor using a ESP8266, specifically the NodeMCU development 1.0 kit. After each sensor reading the ESP8266 will publish the data to a MQTT broker and then go into a deep sleep for 60 seconds to conserve power. I got strange readings depending on which DHT22 library I used, version of NodeMCU and NodeMCU firmware type (integer or float) so do not make the same mistakes I did! Read my getting started post here for obtaining this board for less than 4 USD with free delivery.
Firmware and dependencies
I flashed the ESP8266 with nodemcu_integer_0.9.6-dev_20150704.bin. Check out my post about reflashing firmware here. The DHT22 library I use can be found here
Parts
If you don’t mind waiting a few weeks I would recommend buying from AliExpress as I have done for the lowest price and free shipping, even to Europe!
Disclaimer
This post contains links to Amazon where I get a small commission if you purchase anything after clicking on these links - at no extra cost to you! But only if you have explicitly consented to this. I have purchased all the mentioned products myself and I only link to products that I believe are the best for my readers. If you want to help out even more, take a look here.| Part | AliExpress | Amazon |
|---|---|---|
| 1x ESP8266 development board | $4.2 | $9 |
| 1x DHT22 humidity sensor | $2.7 | $4.2 |
| 1x breadboard | $1.2 | $5.2 |
| 1x 10K resistor | $0.7 | $4.9 |
| Various breadboard wires | $2.6 | $5.9 |
| Total | $11.4 | $29.2 |
Hardware setup
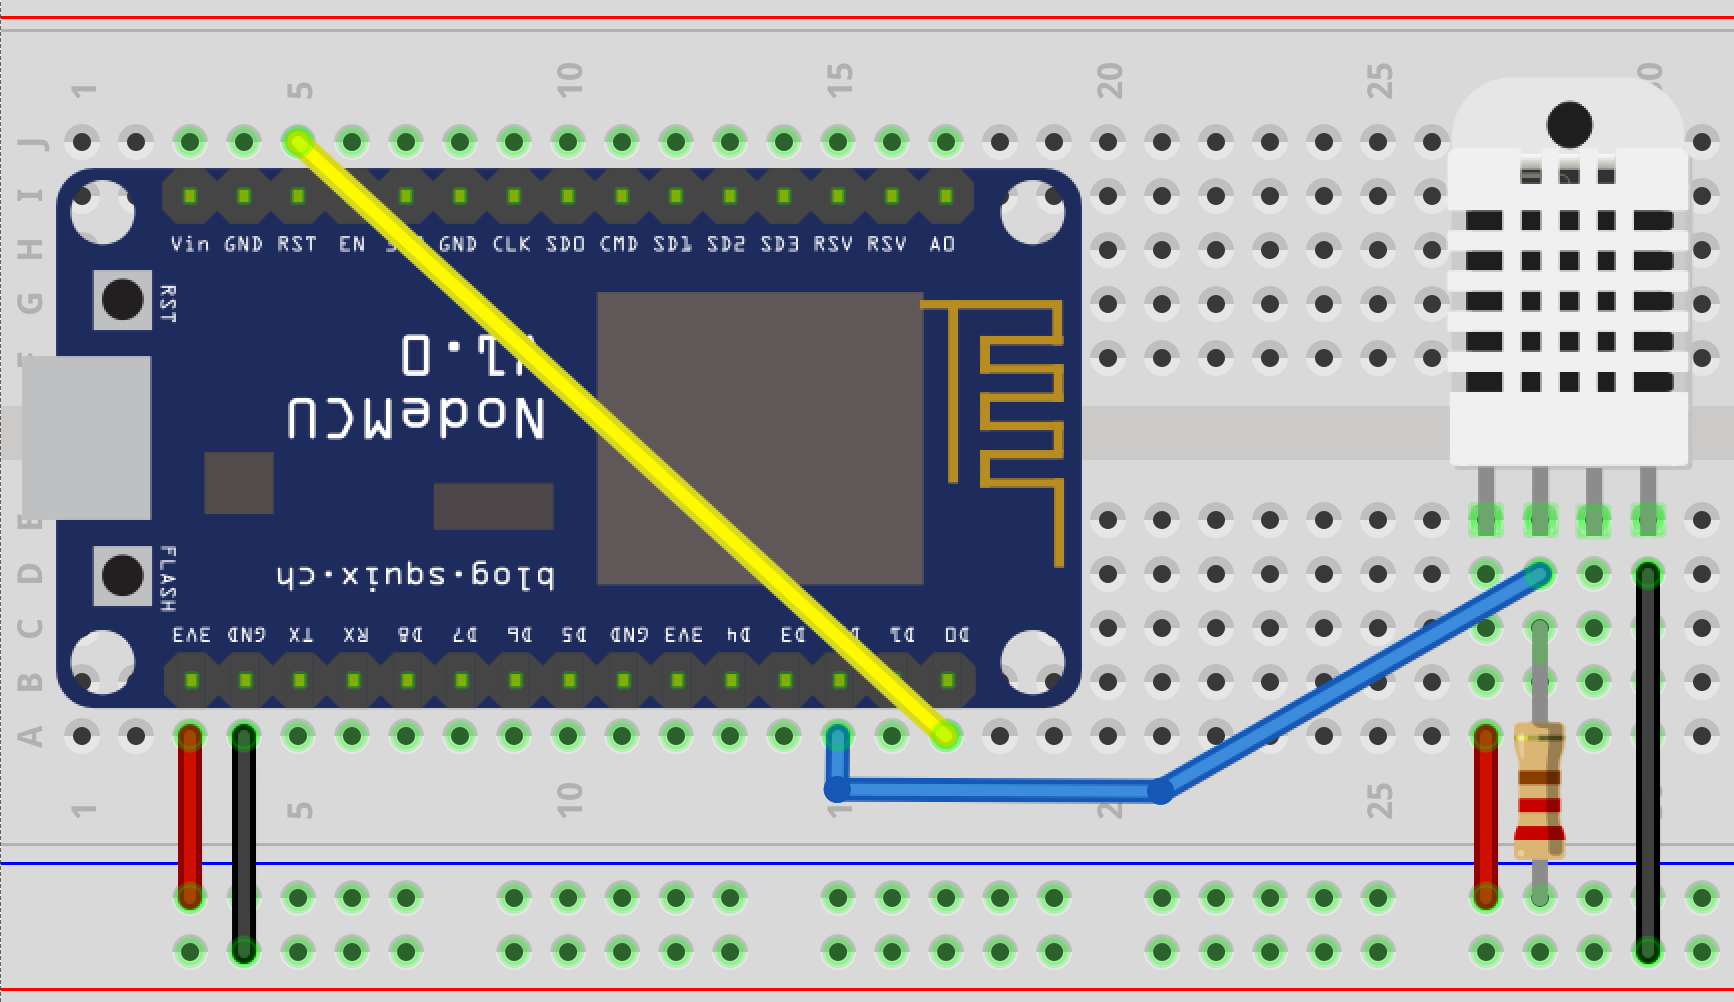
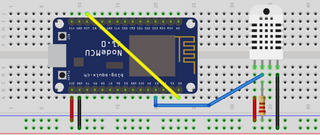
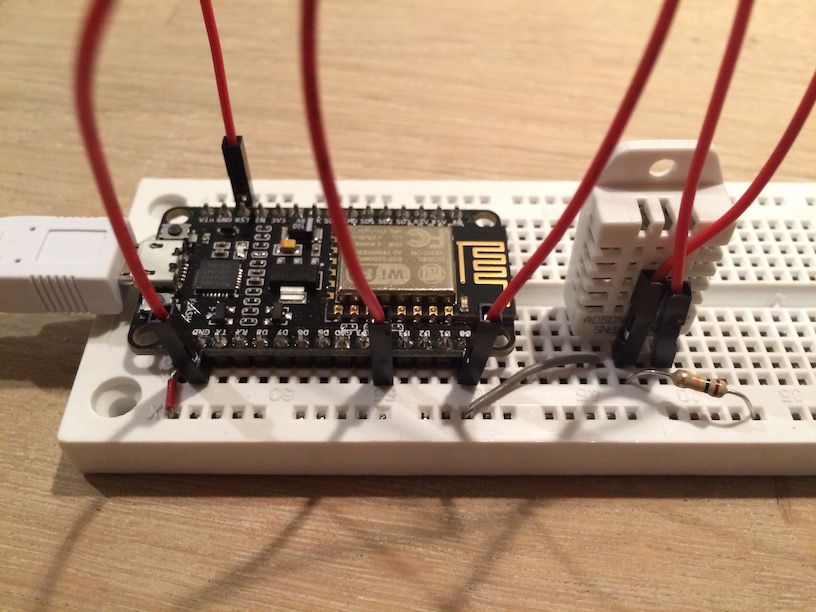
Using a ESP8266 NodeMCU 1.0 development kit and a bread board, we first enable deep sleep. Connecting the D0 and RST pin enables usage of the node.dsleep() command to put ESP8266 into deep sleep for a select period of time (yellow wire). Then we connect the 3.3V power to the DHT22 VCC pin which is the first pin (red wire). We make sure to ground the connection to the DHT22 (black wire) and lastly connect the DHT22 DATA pin to D4 (blue wire). According to the DHT22 documentation the 10K resistor between VCC and the DATA pin of the DHT22 is not needed, but some internet posts and kits do come with the resister, like the DHT22 kit from Adafruit. I choose to leave it in place, but saw no difference in operation when I left it out.
Code
init.lua
Autostart file. It will run the file user.lua if it exists and give us a 1 second delay to abort if needed
1
2
3
4
5
6
7
8
9
10
11
FileToExecute="user.lua"
l = file.list()
for k,v in pairs(l) do
  if k == FileToExecute then
    print("*** You've got 1 sec to stop timer ***")
    tmr.alarm(0, 1000, 0, function()
      print("Executing ".. FileToExecute)
      dofile(FileToExecute)
    end)
  end
end
user.lua
- Connects to the wifi defined in
wifi_SSIDwith passwordwifi_password. You can tweakwifi_signal_modefor more range / less power consumption - When connected to the wifi it will connect to the MQTT broker, see the MQTT settings
- Read the temperature and humidity using the DHT22 library
- Publishes the temperature and humidity to the MQTT broker
- Goes to deep sleep for 60 seconds which can be changed using the variable
time_between_sensor_readings
1
2
3
4
5
6
7
8
9
10
11
12
13
14
15
16
17
18
19
20
21
22
23
24
25
26
27
28
29
30
31
32
33
34
35
36
37
38
39
40
41
42
43
44
45
46
47
48
49
50
51
52
53
54
55
56
57
58
59
60
61
62
63
64
65
66
67
68
69
70
71
72
73
74
75
76
77
78
79
80
81
82
83
84
85
86
87
88
89
90
91
92
93
94
95
-- MQTT connect script with deep sleep
-- Remember to connect GPIO16 and RST to enable deep sleep

--############
--# Settings #
--############

--- MQTT ---
mqtt_broker_ip = "192.168.1.66"
mqtt_broker_port = 1883
mqtt_username = ""
mqtt_password = ""
mqtt_client_id = ""

--- WIFI ---
wifi_SSID = "wifi-Name"
wifi_password = "wifi-Password"
-- wifi.PHYMODE_B 802.11b, More range, Low Transfer rate, More current draw
-- wifi.PHYMODE_G 802.11g, Medium range, Medium transfer rate, Medium current draw
-- wifi.PHYMODE_N 802.11n, Least range, Fast transfer rate, Least current draw
wifi_signal_mode = wifi.PHYMODE_N
-- If the settings below are filled out then the module connects
-- using a static ip address which is faster than DHCP and
-- better for battery life. Blank "" will use DHCP.
-- My own tests show around 1-2 seconds with static ip
-- and 4+ seconds for DHCP
client_ip=""
client_netmask=""
client_gateway=""

--- INTERVAL ---
-- In milliseconds. Remember that the sensor reading,
-- reboot and wifi reconnect takes a few seconds
time_between_sensor_readings = 60000

--################
--# END settings #
--################

-- Setup MQTT client and events
m = mqtt.Client(client_id, 120, username, password)
temperature = 0
humidity = 0

-- Connect to the wifi network
wifi.setmode(wifi.STATION)
wifi.setphymode(wifi_signal_mode)
wifi.sta.config(wifi_SSID, wifi_password)
wifi.sta.connect()
if client_ip ~= "" then
    wifi.sta.setip({ip=client_ip,netmask=client_netmask,gateway=client_gateway})
end

-- DHT22 sensor logic
function get_sensor_Data()
    DHT= require("dht22_min")
    DHT.read(4)
    temperature = DHT.getTemperature()
    humidity = DHT.getHumidity()

    if humidity == nil then
        print("Error reading from DHT22")
    else
        print("Temperature: "..(temperature / 10).."."..(temperature % 10).." deg C")
        print("Humidity: "..(humidity / 10).."."..(humidity % 10).."%")
    end
    DHT = nil
    package.loaded["dht22_min"]=nil
end

function loop()
    if wifi.sta.status() == 5 then
        -- Stop the loop
        tmr.stop(0)
        m:connect( mqtt_broker_ip , mqtt_broker_port, 0, function(conn)
            print("Connected to MQTT")
            print("  IP: ".. mqtt_broker_ip)
            print("  Port: ".. mqtt_broker_port)
            print("  Client ID: ".. mqtt_client_id)
            print("  Username: ".. mqtt_username)
            -- Get sensor data
            get_sensor_Data()
            m:publish("ESP8266/temperature",(temperature / 10).."."..(temperature % 10), 0, 0, function(conn)
                m:publish("ESP8266/humidity",(humidity / 10).."."..(humidity % 10), 0, 0, function(conn)
                    print("Going to deep sleep for "..(time_between_sensor_readings/1000).." seconds")
                    node.dsleep(time_between_sensor_readings*1000)
                end)
            end)
        end )
    else
        print("Connecting...")
    end
end

tmr.alarm(0, 100, 1, function() loop() end)
dht22_min.lua
Taken from here
1
2
3
4
5
6
7
8
9
10
11
12
13
14
15
16
17
18
19
20
21
22
23
24
25
26
27
28
29
30
31
32
33
34
35
36
37
38
39
40
41
42
43
44
45
46
47
48
49
50
51
local e=...local a={}_G[e]=a
local o
local d
function a.read(e)local r
local t
o=0
d=0
r=0
local i=gpio.read
local l={}for e=1,40,1 do
l[e]=0
end
local a=0
gpio.mode(e,gpio.OUTPUT)gpio.write(e,gpio.HIGH)tmr.delay(100)gpio.write(e,gpio.LOW)tmr.delay(40)gpio.mode(e,gpio.INPUT)while(i(e)==0)do end
local n=0
while(i(e)==1 and n<500)do n=n+1 end
while(i(e)==0)do end
n=0
while(i(e)==1 and n<500)do n=n+1 end
for d=1,40,1 do
while(i(e)==1 and a<10)do
a=a+1
end
l[d]=a
a=0
while(i(e)==0)do end
end
for e=1,16,1 do
if(l[e]>4)then
o=o+2^(16-e)end
end
for e=1,16,1 do
if(l[e+16]>4)then
d=d+2^(16-e)end
end
for e=1,8,1 do
if(l[e+32]>4)then
r=r+2^(8-e)end
end
t=(bit.band(o,255)+bit.rshift(o,8)+bit.band(d,255)+bit.rshift(d,8))t=bit.band(t,255)if d>32768 then
d=-(d-32768)end
if(t-r>=1)or(r-t>=1)then
o=nil
end
gpio.mode(e,gpio.OUTPUT)gpio.write(e,gpio.HIGH)
end
function a.getTemperature()return d
end
function a.getHumidity()return o
end
return a
Result
If everything went well you should see the following message every 60 seconds:
NodeMCU 0.9.6 build 20150704  powered by Lua 5.1.4
*** You've got 1 sec to stop timer ***
> Executing user.lua
Connecting...
Connected to MQTT
 IP: 192.168.1.66
 Port: 1883
 Client ID:
 Username:
Temperature: 24.9 deg C
Humidity: 49.9%
Going to deep sleep for 60 seconds
You now have a tiny ESP8266 based sensor that pushes data from the DHT22 sensor to a MQTT server!
UPDATE: 11-10-2015user.lua updated to be more battery efficient. Default wifi mode is now using 802.11n and optionally you can add client_ip, client_netmask and client_gateway for bypassing DHCP and using a static ip when reconnecting to the wifi, saving a few seconds. Finally you can drop the init.lua to eliminate an additional second.
UPDATE: 24-10-2015
I have since updated the script to use the built-in DHT22 module in the NodeMCU firmware itself. Check out my post here to flash the ESP8266 with this module enabled and the modified code.
UPDATE: 20-03-2016
A post using the built-in DHT22 module and integrating to ThingSpeak instead of MQTT can be seen here
Enjoyed this content?
Help keep it free by sending a donation. You can also subscribe to various site feeds to get notified of new posts, follow me on social media, and more.