Getting started with LXD 2.0 container hypervisor

For the past few years I have been migrating between different OpenVZ VPS providers and each time it has been a hassle to migrate and upgrade my virtual machines between them. Then I stumbled upon LXD which in combination with a KVM VPS seems like a perfect fit for running multiple containers on a single KVM VPS and migrating them to and from others LXD hosts with a single command! Notice that using OpenVZ VPS’es is not possible since the kernel is too old. For this post I used VirtualBox, but plan on migrating the whole setup to a KVM VPS at RamNode which I highly recommend.
Check out my post here for installing the latest stable version of LXD on Ubuntu 16.04
Installation of LXD host
Start by installing a copy of the newest Ubuntu server on VirtualBox, I used Ubuntu 16.04.1 LTS. This already comes with LXD which just need to be configured. I configured LXD with the default values except saying yes to making LXD available over the network. Replace somepassword with your own password.
$sudo lxd init
Name of the storage backend to use (dir or zfs) [default=dir]: dir
Would you like LXD to be available over the network (yes/no) [default=no]? yes
Address to bind LXD to (not including port) [default=all]: all
Port to bind LXD to [default=8443]: 8443
Trust password for new clients: somepassword
Again: somepassword
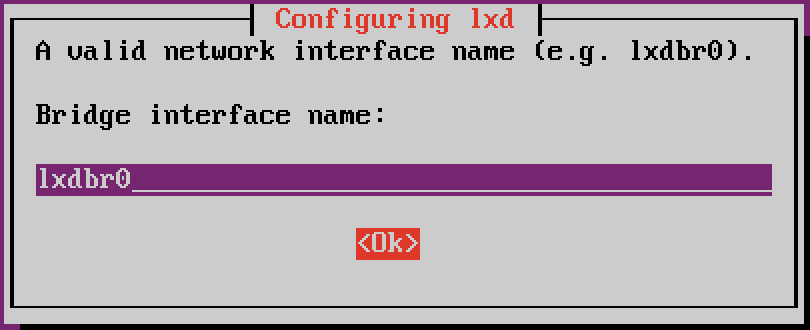
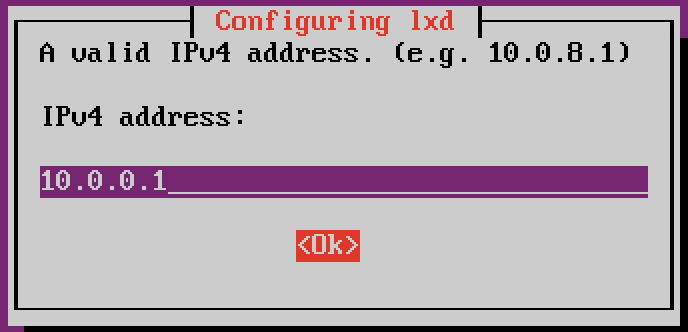
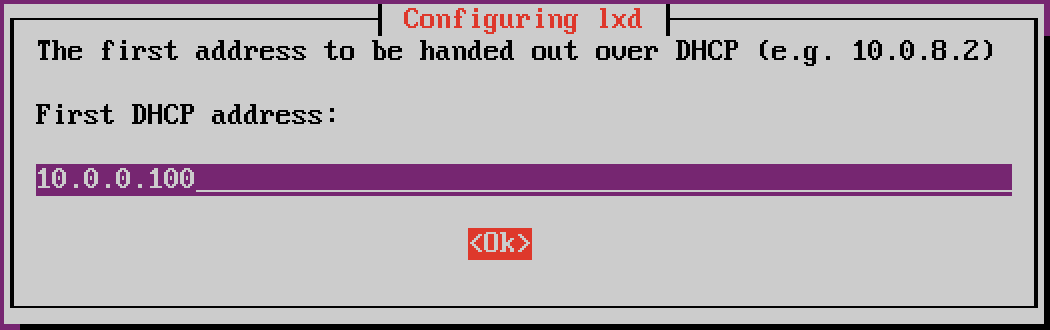
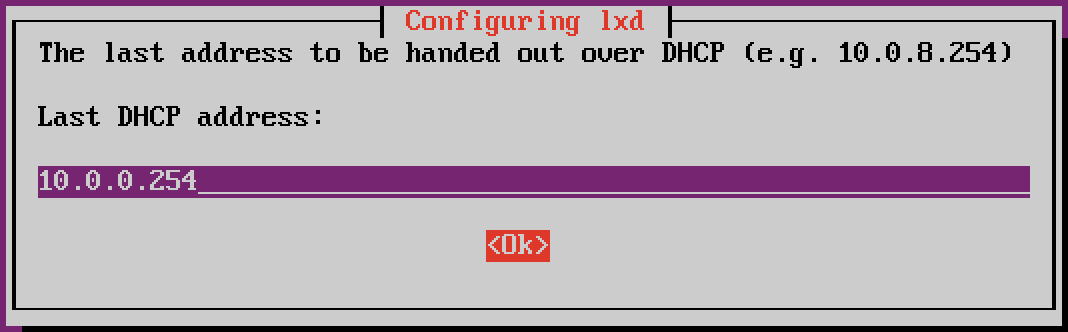
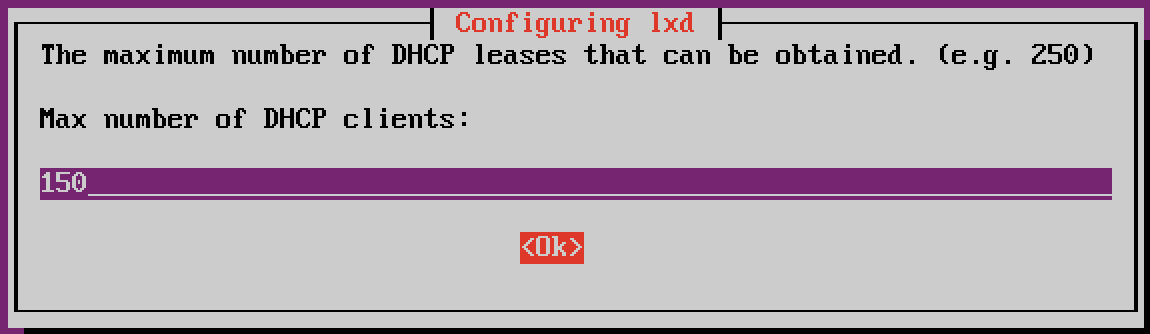
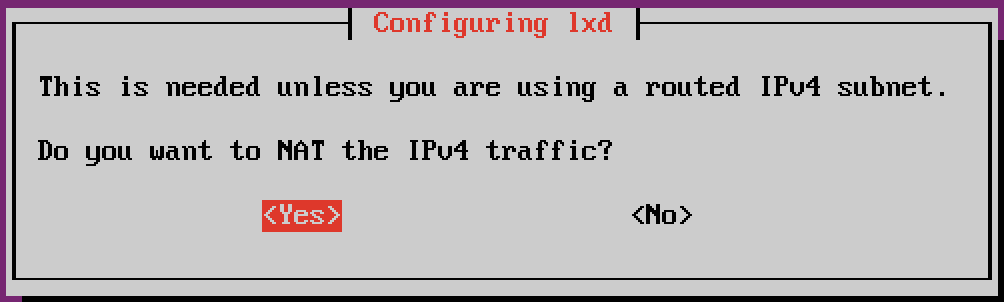
Do you want to configure the LXD bridge (yes/no) [default=yes]? yesThis will open the bridge configurator. I used the default values.
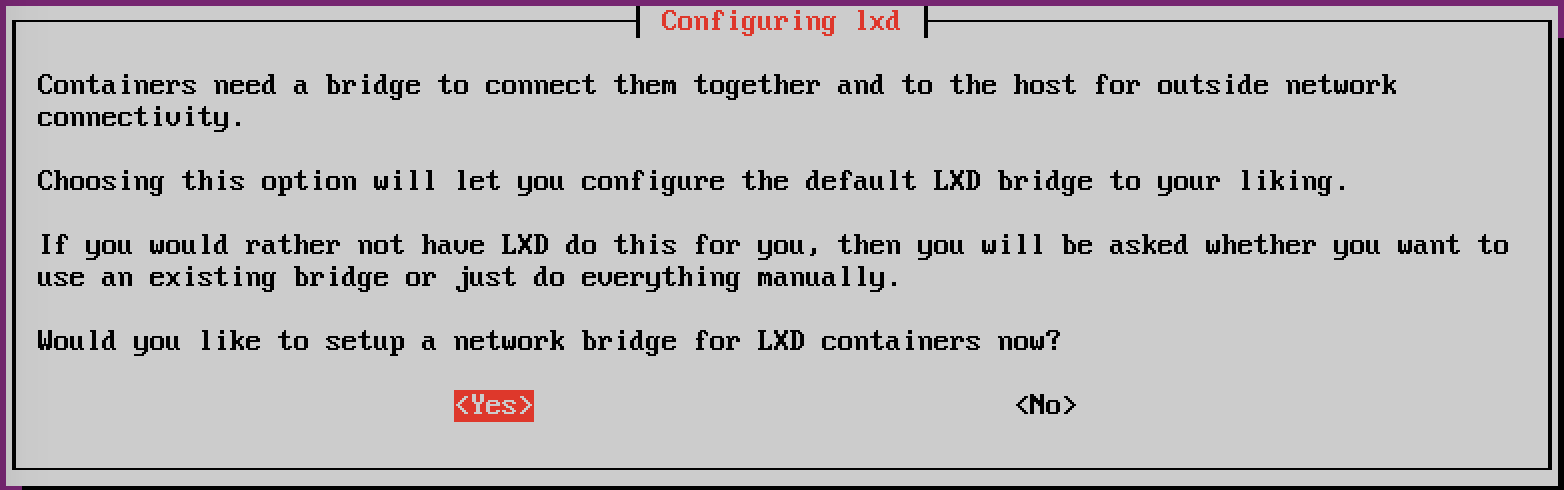


This should end with a LXD has been successfully configured message.
Setup a container
Lets create an Ubuntu container
$lxc launch ubuntu: test-containerAfter it is done we confirm that the container is running
$lxc list
    +-----------------+---------+------------------------+------+------------+-----------+
    |      NAME       |  STATE  |          IPV4          | IPV6 |    TYPE    | SNAPSHOTS |
    +-----------------+---------+------------------------+------+------------+-----------+
    | test-container  | RUNNING |  10.0.0.218 (eth0)     |      | PERSISTENT | 0         |
    +-----------------+---------+------------------------+------+------------+-----------+
That’s it! We can now enter the container
$lxc exec test-container bashWhich will enter the container as root
root@test-container:~#Here we can as an example setup NGINX
root@test-container:~#apt-get install nginxThen exit the container
root@test-container:~#exitWhich drops us back to the host. Here we can now access the webserver we just installed on the container
$wget http://10.0.0.218
--2016-10-22 23:20:15--  http://10.0.0.228/
Connecting to 10.0.0.228:80... connected.
HTTP request sent, awaiting response... 200 OK
Length: 632 [text/html]
Saving to: ◼index.html◼

index.html           100%[==============================>]      632   --.-KB/s

2016-10-22 23:20:16 (41.0 MB/s) - ◼index.html◼ saved [632/632]
Lastly I wanted a static ip address for my containers
$sudo nano /etc/default/lxd-bridgeFind the line LXD_CONFILE and change it to LXD_CONFILE="/etc/default/lxd_dnsmasq.conf" and save the file. Next we create the lxd_dnsmasq.conf file which will contain our static ip mapping
$sudo nano /etc/default/lxd_dnsmasq.confFor each container add a line dhcp-host=container_name,ip_address, for our container we add the following in the beginning of the file dhcp-host=test-container,10.0.0.60 and save the file. Now stop the container
$lxc stop test-containerRestart the LXD bridge
$sudo service lxd-bridge stop && sudo service lxd-bridge startAnd start the container again
$lxc start test-containerNow this container will always use ip 10.0.0.60
$lxc list
    +-----------------+---------+------------------------+------+------------+-----------+
    |      NAME       |  STATE  |          IPV4          | IPV6 |    TYPE    | SNAPSHOTS |
    +-----------------+---------+------------------------+------+------------+-----------+
    | test-container  | RUNNING |  10.0.0.60  (eth0)     |      | PERSISTENT | 0         |
    +-----------------+---------+------------------------+------+------------+-----------+
Migrate containers between LXD hosts
Lets assume that this LXD host we have created has the ip of 192.168.1.20. And lets assume we have another LXD host at ip 192.168.1.30 (if you used VirtualBox for this guide you can just clone the whole setup and change the ip). We want to migrate the test-container from 192.168.1.20 to 192.168.1.30.
Both LXD hosts
First we install criu on both LXD hosts.
$sudo apt-get install criu192.168.1.30 host
Then we add a reference to 192.168.1.20 from 192.168.1.30. Replace somepassword with your own password from the beginning of this post.
$lxc remote add host1 192.168.1.20:8443
Certificate fingerprint:
a4056e1b82fed6ebca4447c93926003efe3273903df79b131c4c315350812fff
ok (y/n)? y
Admin password for host1: # somepassword
Client certificate stored at server:  host1
We can now move or copy test-container to 192.168.1.30
$lxc copy host1:test-container test-containerThis can take a long time if the container is large or the connection is slow. For me it takes less than a minute, but there is no progress indicator at the moment. Lastly we check if the new container is transferred.
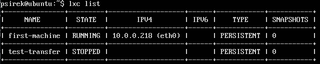
$lxc list
    +-----------------+---------+------------------------+------+------------+-----------+
    |      NAME       |  STATE  |          IPV4          | IPV6 |    TYPE    | SNAPSHOTS |
    +-----------------+---------+------------------------+------+------------+-----------+
    | test-container  | RUNNING |  10.0.0.60   (eth0)    |      | PERSISTENT | 0         |
    +-----------------+---------+------------------------+------+------------+-----------+
Since we cloned this host from 192.168.1.20, it also remembers our configuration that a container named test-container will get the ip 10.0.0.60. Notice that a copy will stop the original container. To prevent this we can take a snapshot first and then transfer the snapshot.
$lxc snapshot host1:test-container current
$lxc copy host1:test-container/current test-container
$lxc start test-container
Lastly one can play around with live migration, but I choose not to do that yet since it is an experimental feature in LXD 2.0, but take a look at this post for more information.