DIY Ambilight without a pc


Ever wished you had Philips Ambilight for your tv or monitor? Well, make it yourself and save a buck or two! This post uses the ambi-tv system to create an Ambilight clone.
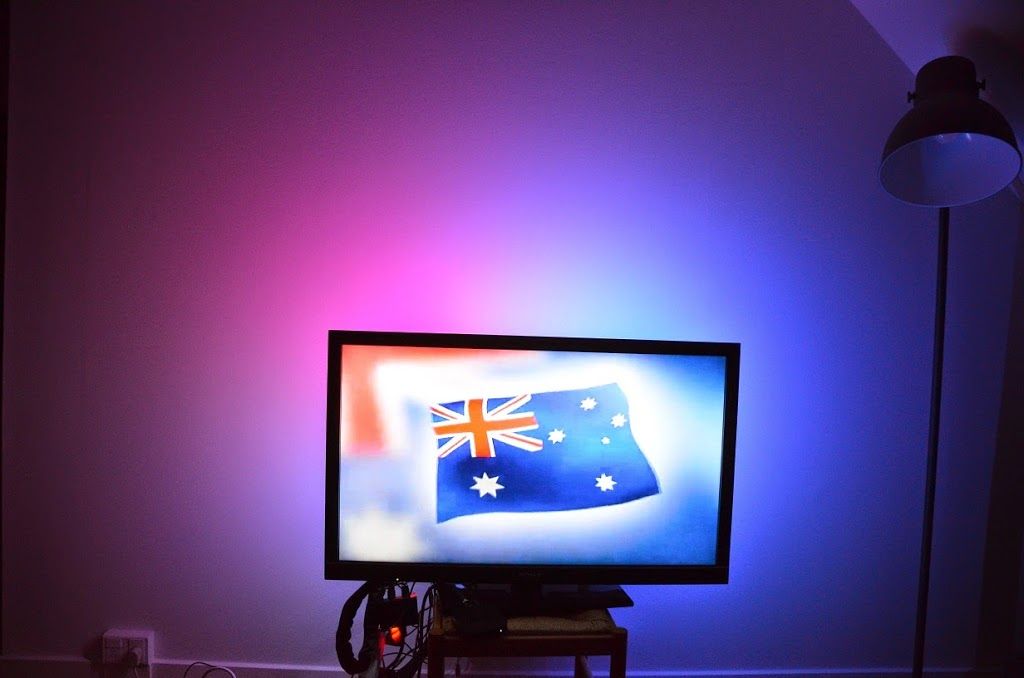
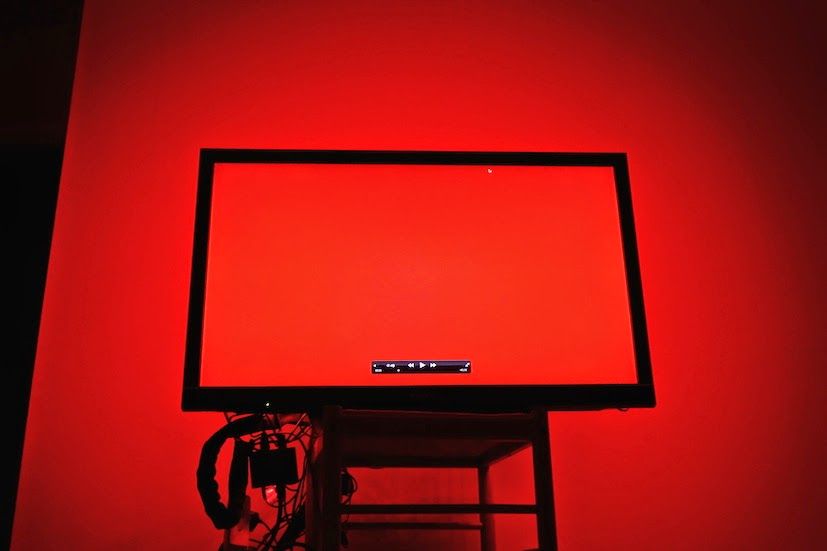
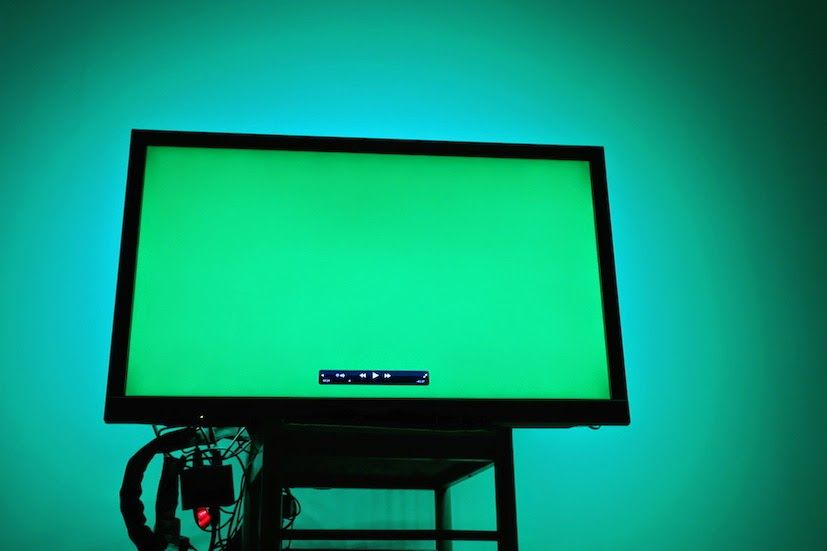
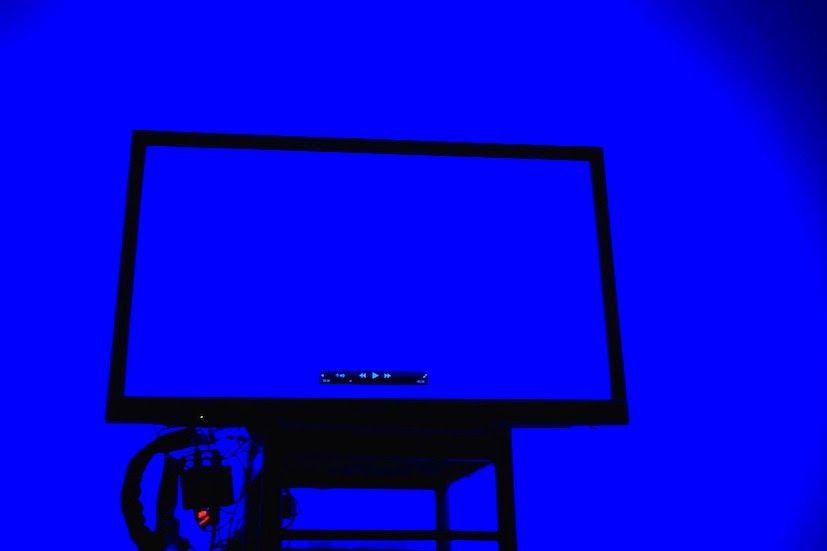
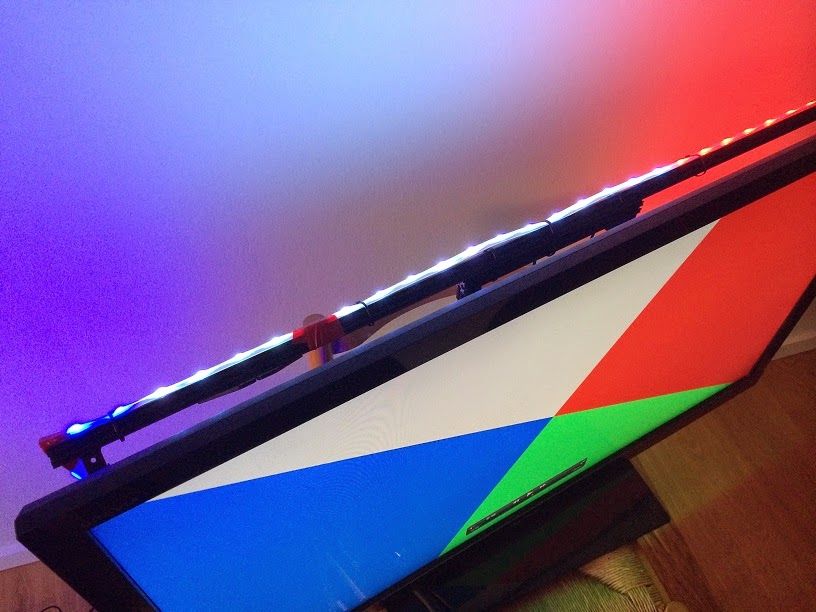
Here is an example of the finished ambi-tv setup in action using a test demo.
Here you can see the setup using a real video. The video is from sintel.org, although not the best showcase of ambi-tv, it is the least likely to get me in trouble over copyright. I can reveal that the setup looks wonderful using the official Philips Ambilight demo video found here
It simply needs a HDMI input to work, no other computers than the Raspberry Pi doing all the processing and controlling the LEDs behind the tv. The whole setup is around 310 USD to make since I live in Europe, if you live in the States or Asia it is cheaper to get the parts. See this excellent video from the maker of the ambi-tv system to get more information: https://www.youtube.com/watch?v=8cpQpGYtjR0
Hardware list
Disclaimer
This post contains links to Amazon where I get a small commission if you purchase anything after clicking on these links - at no extra cost to you! But only if you have explicitly consented to this. I have purchased all the mentioned products myself and I only link to products that I believe are the best for my readers. If you want to help out even more, take a look here.- Raspberry Pi revision B (60 USD)
- UPDATE 01-04-2015: I strongly recommend to get the new Raspberry Pi 3 Model B which has 6 times more processing power and twice the ram than the model I have used for the same price!
- König 2 way HDMI splitter (60 USD)
- 3 meters of LPD8806 LED strip (generic brand from China) (55 USD)
- EasyCAP DC60 - USB 2.0 (fake copy from China, need one using the Fushicai chipset) (15 USD)
- HDMI to AV composite converter (17 USD)
- 5V 10A powersupply (30 USD)
- OpenBeam beams, brackets and nuts & bolts (optional) (40 USD)
- Outlet power strip which automatically power devices on / off with the tv (optional) (30 USD)
- Miscellaneous cables (5 USD)
Hardware and software setup
I will not go into details, but follow this guide here: https://github.com/gkaindl/ambi-tv. Some additional information
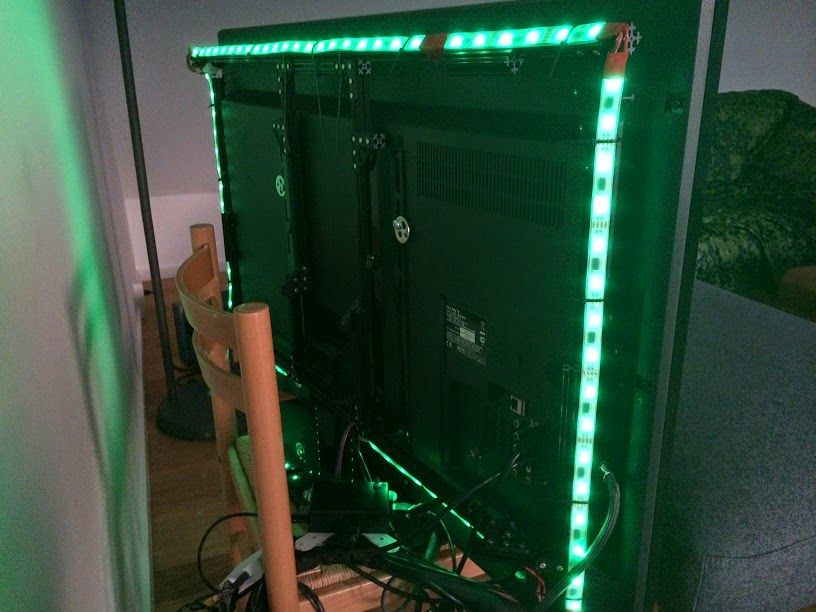
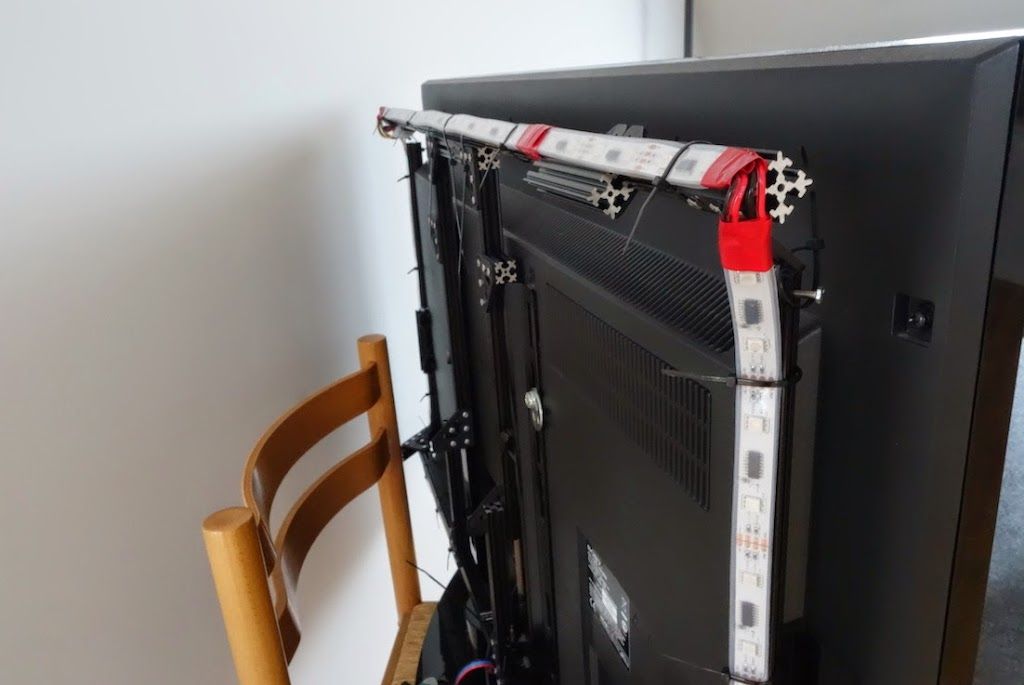
Hardware
- Make sure the LED strip and Raspberry PI share the same powersupply / grounds. I got very erratic results before I did this
Software
- Download the 2013-07-26-wheezy-raspbian image and use this to build your image. I had problems building the USB driver for the tv-grabber using newer images. Don’t even do a dist-upgrade, but you should be able to do this after getting the USB driver to work (untested, I did not do the dist upgrade)
- Green and blue colors were switched so I followed these instruction to fix it: https://github.com/gkaindl/ambi-tv/issues/14
- I cropped the borders until the flickering of lights stopped (slowly increase Crop-* in the v4l2-grab-source section of ambi.conf).
- I increased blended-frames which introduces slight lag in the Ambilight, this is on purpose as this gives me a smoother effect during movies
- The image auto logins and starts ambi-tv. Press CTRL+C to quit and edit the settings
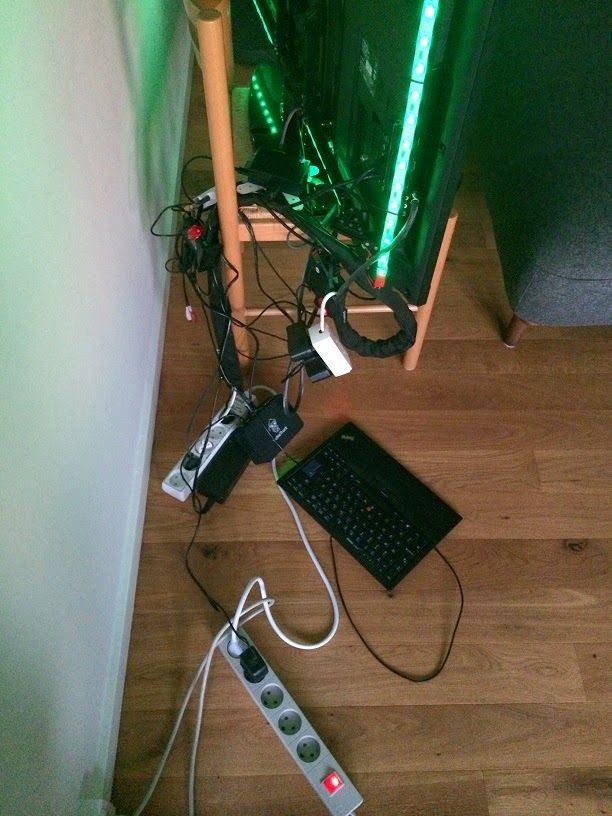
You can download my image if you want to skip step 1-5. Login and password pi / pi. Just remember to edit the ambi-tv.conf file to suit your needs. To write the image to an SD-card, use Win32 Disk Imager. You need to use a SD card of at least 4GB. If you use a SD card greater than 4GB you can resize the image using this guide if you want to increase the size of the root partition. This finished setup can be seen here, I still need to hide all the mess behind the tv
Accuracy
Color accuracy is not perfect, but works well enough that I have no need to tweak it further. I expect tweaking the gamma setting in ambi.conf can get me better results.

The accuracy regarding what to show is good enough not to need any tweaking, but the ambi-tv.conf can be tweaked to increase accuracy.
Lag
Using this youtube video as shown in the beginning of the post I tested the lag on the ambi-tv. If the “blended-frame” variable in ambi.conf is set quite low there is no lag on a Raspberry Pi as you can see again on this video.
As stated before, I use a rather high “blended-frames” to introduce higher lag to have a more smooth transition during movies.
Limitations
- The ambi-tv setup turns on when the tv turns on because of the attached standby power controller, but startup delay is around 1 minute, which is the time my standby power controller turns on the Raspberry Pi and boots into the operating system. Minor issue
- Up to several minutes when turning off the tv before the ambilight turns off. This is limited by my standby power controller or the tv not entering a low power state right away. One could implement some code that detects when all LEDs are blue (no signal) for more than 10 seconds and turn the LEDs off.
- No remote control support for changing ambi-tv settings. This should be fairly easy using lirc and some IR receiver
- Some flickering of LED light depending on settings
What next?
- Calibrate color accuracy for better results, starting with gamma correction
- IR setup to remotely change ambilight setting. At the moment it default to edge settings when turing on the tv
- With Philips ambilight tv’s it is possible to connect Philips Hue light-bulbs and extend the ambilight effect beyond the immediate area around the tv. I should be able to do something similar with this DIY ambilight setup
- Cleanup the mess behind the tv
- I would like to replace the software with something written in C# since that is what I prefer to tinker with
- For a “mere” 2000 USD I can get the new Philips 60 inch ambilight tv, Elevation, and for 200 USD more a Philips Hue lightbulb set. A bit more than the 300 USD total the ambi-tv costs, but when I do feel the urge to upgrade the size of the tv, it might as well be a Philips tv with ambilight
Enjoyed this content?
Help keep it free by sending a donation. You can also subscribe to various site feeds to get notified of new posts, follow me on social media, and more.